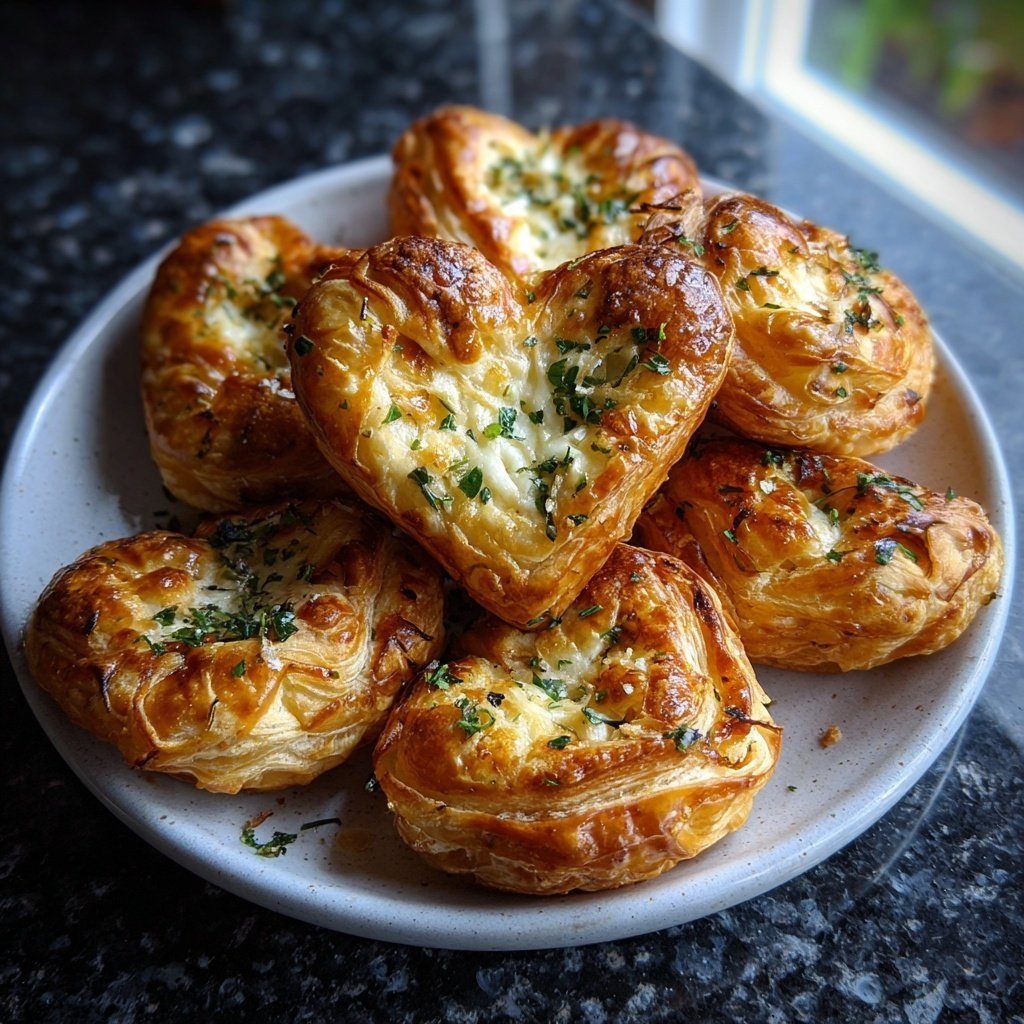
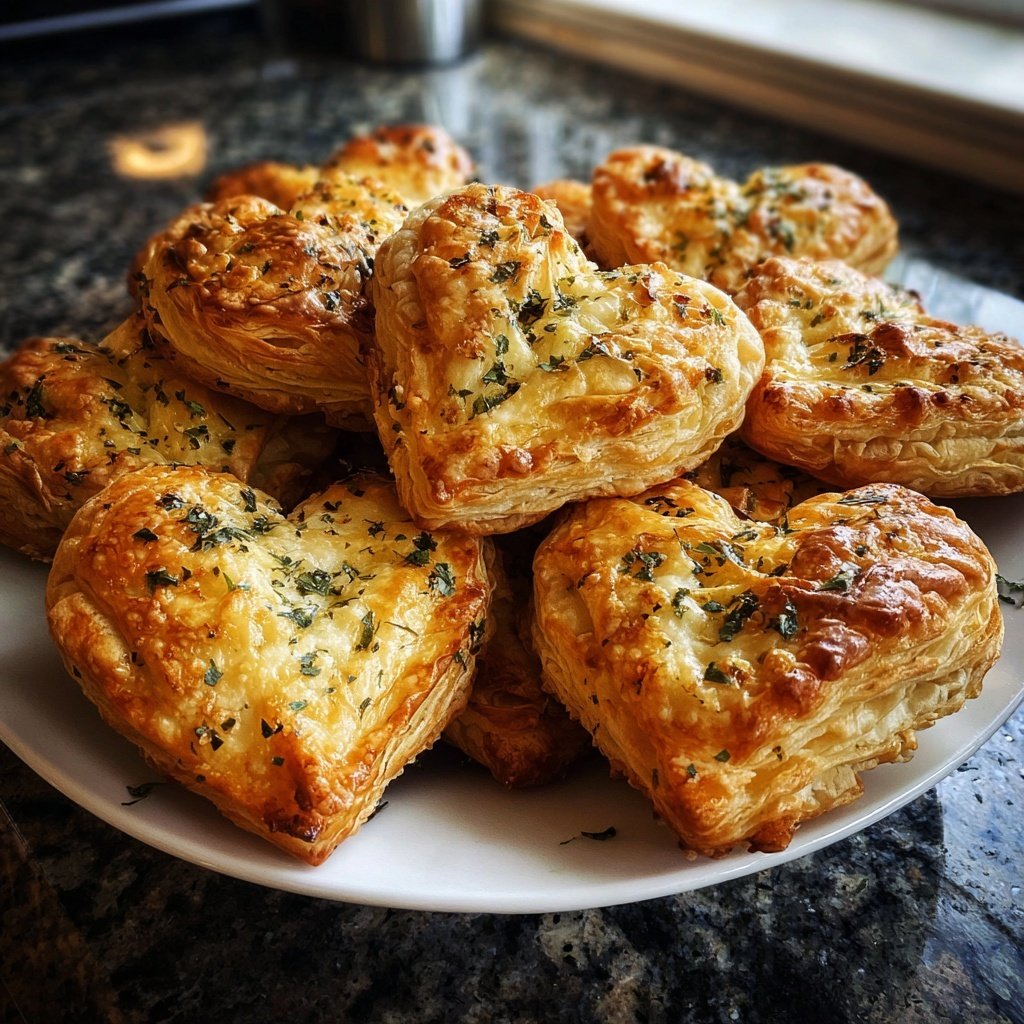
Valentines Snacks Mini Puff Pastries
Highlighted under: Cakes, Pies & More
I love celebrating special occasions with delicious treats, and these Mini Puff Pastries are my go-to for Valentine’s Day. They are not only adorable and bite-sized but also incredibly simple to make. The flaky, buttery crust combined with sweet fillings creates a delightful flavor experience that is sure to impress. Whether I’m hosting a brunch or enjoying a romantic dinner, these pastries always steal the show. Let’s get ready to make a memorable snack that everyone will adore!
Creating these Mini Puff Pastries was a delightful experience. I remember the first time I made them, the kitchen filled with the beautiful aroma of baking pastry, and I couldn’t wait to taste them. My secret is using high-quality puff pastry, which makes the process incredibly straightforward while delivering that irresistibly light and flaky texture!
What I love most is how versatile they are. I experimented with different fillings – from fresh berries and cream cheese to chocolate and hazelnut spread. The possibilities are endless, and adding a sprinkle of powdered sugar on top before serving elevates them to a new level of indulgence. These pastries will definitely be a Valentine’s tradition in my home!
Why You'll Love This Recipe
- Adorable mini size perfect for sharing or gifting
- Flaky, buttery crust that melts in your mouth
- Easy to customize with your favorite fillings
Perfecting the Puff Pastry
To achieve an ideal flaky texture, it is crucial to work with well-thawed puff pastry. If you notice any cracks or tears, gently patch them with a little extra dough. When rolling the pastry, keep the thickness even, about 1/8 inch, to ensure uniform baking. A rolling pin with measurements can be helpful, ensuring you don’t roll too thin, which could lead to a chewy texture instead of the desired lightness.
Baking is key to getting that perfect golden-brown color. I find it helpful to rotate the baking sheet halfway through the baking time to promote even browning. Keep an eye on the pastries for the last couple of minutes; they can go from beautifully golden to burnt quickly, especially if your oven runs hot.
Filling Variations to Explore
Choosing the right filling can elevate your mini puff pastries from simple snacks to gourmet treats. Cream cheese blended with a bit of sugar and lemon zest provides a tangy yet sweet profile. Alternatively, for a richer option, melted chocolate or Nutella creates a decadent treat that’s always a crowd-pleaser. For a fruity twist, consider using fresh berries mixed with a touch of sugar to enhance their sweetness.
Don't hesitate to experiment beyond the conventional fillings! Savory options like a spinach and feta mixture or a spiced pumpkin puree can create a delightful contrast to sweet pastries. Just keep your fillings to about a teaspoon to prevent overflow, which can lead to uneven baking or hard-to-handle pastries.
Storage and Serving Tips
These mini puff pastries are best served fresh, but if you have leftovers, they can be stored in an airtight container in the refrigerator for up to three days. To revive their flakiness, reheat them in a preheated oven at 350°F (175°C) for about 5-10 minutes. This will help restore their crispy texture, rather than using the microwave, which can make them soggy.
For serving, I like to dust the pastries with powdered sugar for a nice touch or drizzle them with a simple icing made from powdered sugar and milk. They pair beautifully with coffee or a sparkling beverage, making them perfect for brunch or a romantic evening. Feel free to garnish with fresh fruit or whipped cream for an extra special presentation!
Ingredients
For the Puff Pastries
- 1 sheet of puff pastry (thawed)
- 1 egg (beaten, for egg wash)
- 1 tablespoon of sugar
- Filling of your choice (e.g., cream cheese, chocolate, fruit preserves)
Instructions
Prepare the Puff Pastry
Preheat your oven to 400°F (200°C). Roll out the thawed puff pastry on a lightly floured surface and cut it into small squares, approximately 3 inches by 3 inches.
Add the Filling
Place a small teaspoon of your chosen filling in the center of each pastry square. Be careful not to overfill!
Seal the Pastries
Fold the corners of the pastry squares over the filling to form a triangle or rectangle. Press the edges to seal and brush the tops with the beaten egg. Sprinkle a little sugar for added sweetness.
Bake
Place the pastries on a baking sheet lined with parchment paper and bake for 15 minutes or until golden brown. Let cool slightly before serving.
Pro Tips
- Experiment with different fillings like Nutella, peanut butter, or even savory options like cheese and herbs. For a festive touch, drizzle melted chocolate over the cooled pastries.
Dietary Substitutions
If you need a gluten-free option, look for ready-made gluten-free puff pastry available in specialty stores. They might require a slight adjustment in baking time, so keep a close eye on them until they reach a golden hue. For lactose-free variations, substitute cream cheese with a dairy-free cheese spread that offers a creamy consistency without the milk.
For a lower-sugar version, consider using sugar substitutes in your fillings. For instance, using mashed bananas or natural fruit purees can provide sweetness along with added flavor. Remember that this might alter the texture slightly, so adjust the filling volume to ensure the pastries remain manageable.
Scaling the Recipe
This recipe is easily adjustable. If you're hosting a larger gathering, simply increase the quantity of puff pastry sheets and fillings. Each sheet can yield about 12-16 mini pastries, depending on how large you cut the squares. Scaling quantities of fillings is simple—just remember to maintain your flavor balance, especially if using stronger fillings like chocolate or spices.
When scaling up, the baking time might slightly increase as well. Keep at it until you achieve that perfect golden brown and flaky texture. It’s also a good idea to use two baking sheets if you have a lot of pastries; this helps prevent overcrowding, which can hinder even baking.
Questions About Recipes
→ Can I use frozen puff pastry?
Yes, frozen puff pastry works perfectly. Just make sure to thaw it completely before using.
→ How do I store the leftovers?
Store any leftovers in an airtight container at room temperature for up to 2 days, or refrigerate for up to a week.
→ Can I make these in advance?
Absolutely! You can prepare the pastries and freeze them before baking. Just bake them straight from the freezer, adding a few extra minutes to the baking time.
→ What are some popular filling options?
Some popular fillings include cream cheese and berries, chocolate hazelnut, lemon curd, or savory cheese and ham.
Valentines Snacks Mini Puff Pastries
Created by: Paige Sullivan
Recipe Type: Cakes, Pies & More
Skill Level: Beginner
Final Quantity: 12 pieces
What You'll Need
For the Puff Pastries
- 1 sheet of puff pastry (thawed)
- 1 egg (beaten, for egg wash)
- 1 tablespoon of sugar
- Filling of your choice (e.g., cream cheese, chocolate, fruit preserves)
How-To Steps
Preheat your oven to 400°F (200°C). Roll out the thawed puff pastry on a lightly floured surface and cut it into small squares, approximately 3 inches by 3 inches.
Place a small teaspoon of your chosen filling in the center of each pastry square. Be careful not to overfill!
Fold the corners of the pastry squares over the filling to form a triangle or rectangle. Press the edges to seal and brush the tops with the beaten egg. Sprinkle a little sugar for added sweetness.
Place the pastries on a baking sheet lined with parchment paper and bake for 15 minutes or until golden brown. Let cool slightly before serving.
Extra Tips
- Experiment with different fillings like Nutella, peanut butter, or even savory options like cheese and herbs. For a festive touch, drizzle melted chocolate over the cooled pastries.
Nutritional Breakdown (Per Serving)
- Calories: 150 kcal
- Total Fat: 10g
- Saturated Fat: 3g
- Cholesterol: 40mg
- Sodium: 100mg
- Total Carbohydrates: 15g
- Dietary Fiber: 1g
- Sugars: 5g
- Protein: 3g