Classic Aioli Sauce Recipe
Highlighted under: International Recipe Hub
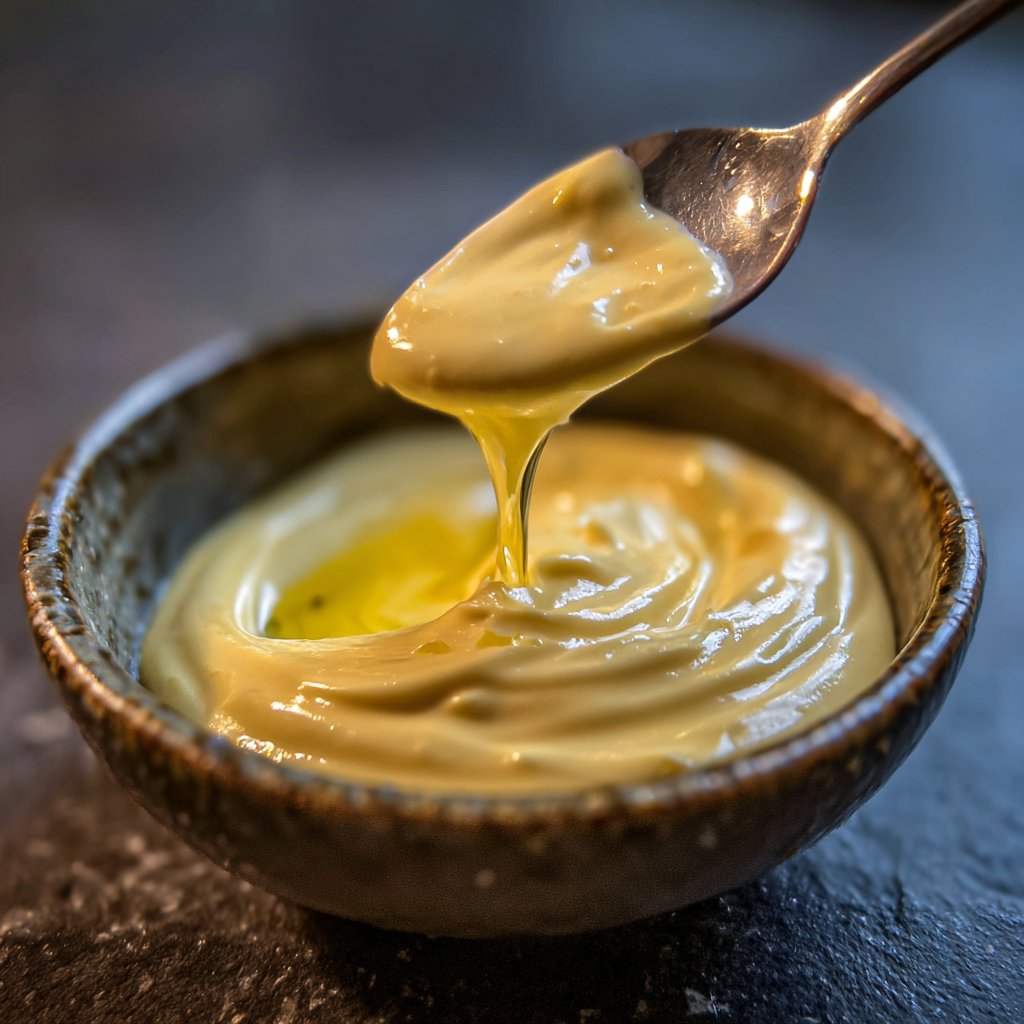
I absolutely love making classic aioli sauce at home. The burst of fresh garlic and the richness of olive oil create a flavor that elevates any dish. This creamy, tangy sauce is perfect for drizzling over roasted vegetables, as a dip for warm bread, or once you’ve mastered the technique, you can play with different flavors. I find that the secret lies in whisking the egg yolks and oil together slowly, ensuring a beautifully emulsified texture. Trust me, once you try this recipe, you won't go back to store-bought aioli.

When I first tried making aioli, I was surprised by how simple and satisfying it was. The key for me was using fresh garlic and high-quality olive oil, which bring a depth of flavor that store-bought versions just cannot match. Each time I make it, I feel like I’m bringing a little bit of the Mediterranean into my kitchen.
To ensure the best texture, I learned that adding the oil slowly while whisking can’t be rushed. The emulsion forms beautifully, creating that luscious creamy sauce. It’s a wonderful way to showcase fresh herbs or spices as well, making it a versatile addition to my cooking repertoire.
Why You'll Love This Recipe
- Bold garlic flavor that speaks for itself
- Incredibly creamy and smooth texture
- Versatile enough to complement many dishes
Mastering Emulsion
Creating a perfect emulsion is key to achieving that silky texture that makes aioli irresistible. The primary role of egg yolks in this recipe is to act as an emulsifier, stabilizing the oil and preventing separation. When whisking in the olive oil, it's vital to do so slowly—starting with just a few drops and gradually increasing as the mixture thickens. A good rule of thumb is to whisk continuously for about 3–5 minutes, until you see the mixture becoming glossy and smooth.
If at any point you notice the aioli becoming too thick or starting to separate, don't worry. You can rescue it! Simply add a teaspoon of warm water and whisk vigorously to bring it back together. This technique ensures a creamy consistency every time, making your aioli not only delicious but also visually appealing.
Flavor Variations
The classic aioli is a fantastic base, but once you've mastered it, I highly encourage you to explore different flavor profiles. For an herbed aioli, consider adding finely chopped fresh herbs like basil or tarragon. Simply fold them into the mixture once the base aioli is complete. This adds freshness and elevates the sauce, making it perfect for summer dishes or as a vibrant dip for fresh vegetables.
Spicy aioli is another exciting variation that adds a kick to this classic sauce. Just a teaspoon of smoked paprika or a dash of cayenne pepper incorporated into the garlic step will transform your aioli into something bold and smoky. Not only does this add heat, but the smoked paprika contributes a beautiful color that enhances the overall presentation.
Storage Tips and Shelf Life
Homemade aioli can be stored in the refrigerator for up to one week, making it a great option for meal prep. To keep it fresh, transfer the aioli to an airtight container and place a piece of plastic wrap directly on the surface of the saucing before sealing the lid. This prevents oxidation and helps maintain its vibrant color and flavor.
If you're planning to prepare aioli in advance for an event, consider making it the day before. Allowing the flavors to meld overnight can enhance the overall taste. Just be sure to give it a good stir before serving, as it may thicken slightly in the fridge. Avoid freezing aioli, as the texture may become grainy and unpleasant once thawed due to the separation of the fats.
Ingredients
Ingredients
Classic Aioli Ingredients
- 2 large egg yolks
- 1 tablespoon Dijon mustard
- 1 tablespoon lemon juice
- 1 cup extra virgin olive oil
- 4 cloves garlic, minced
- Salt to taste
- Pepper to taste
Instructions
Instructions
Combine Initial Ingredients
In a bowl, whisk together the egg yolks, Dijon mustard, and lemon juice until well combined.
Emulsify the Oil
While continuously whisking, gradually add the olive oil in a slow, steady stream to create an emulsion.
Add Garlic and Season
Once the mixture is thick and creamy, fold in the minced garlic and season with salt and pepper to your liking.
Serve and Enjoy
Transfer the aioli to a serving bowl and refrigerate for at least 30 minutes to let the flavors meld before serving.
Pro Tips
- For a variation, try adding fresh herbs like basil or parsley for an herbed aioli, or a pinch of smoked paprika for a smoky flavor.
Common Troubleshooting Tips
One common issue when making aioli is achieving that perfect texture. If you're struggling with separation, it might be tempting to start anew, but often, the solution is simple. To fix a split aioli, add a teaspoon of warm water or another egg yolk, whisking vigorously until it comes together smoothly again.
In some cases, excessive whisking can lead to a grainy texture, especially if the oil was added too quickly. If you find yourself in this situation, try whisking in a tablespoon of lemon juice or vinegar to help re-emulsify the mixture. This not only smoothes it out but also enhances the tanginess of your aioli.
Serving Suggestions
Aioli is remarkably versatile and can enhance a variety of dishes. Drizzle it over grilled vegetables for a delightful contrast to their smokiness, or use it as a dipping sauce for crispy fries and roasted potatoes. For a more gourmet touch, serve it alongside seafood, such as grilled shrimp or crab cakes, where the creamy texture pairs beautifully with the delicate flavors.
Another fun way to serve aioli is as a topping for sandwiches and wraps. Its rich, garlicky flavor adds an exciting twist to your favorite fillings and bread choices. I often spread aioli on a toasted baguette, then layer in fresh vegetables, cheese, or meats for a delicious meal that feels indulgent without extra effort.
Questions About Recipes
→ Can I make aioli without raw eggs?
Yes, you can use mayonnaise as a base for a quicker version or look for pasteurized eggs.
→ How long does homemade aioli last?
It typically lasts 3-4 days in the refrigerator if stored properly in an airtight container.
→ What can I serve aioli with?
Aioli is great with vegetables, seafood, sandwiches, or even as a spread on burgers.
→ Can I freeze aioli sauce?
It's not recommended to freeze aioli as the texture may change once thawed.
Classic Aioli Sauce Recipe
Created by: Paige Sullivan
Recipe Type: International Recipe Hub
Skill Level: Intermediate
Final Quantity: 1 cup
What You'll Need
Classic Aioli Ingredients
- 2 large egg yolks
- 1 tablespoon Dijon mustard
- 1 tablespoon lemon juice
- 1 cup extra virgin olive oil
- 4 cloves garlic, minced
- Salt to taste
- Pepper to taste
How-To Steps
In a bowl, whisk together the egg yolks, Dijon mustard, and lemon juice until well combined.
While continuously whisking, gradually add the olive oil in a slow, steady stream to create an emulsion.
Once the mixture is thick and creamy, fold in the minced garlic and season with salt and pepper to your liking.
Transfer the aioli to a serving bowl and refrigerate for at least 30 minutes to let the flavors meld before serving.
Extra Tips
- For a variation, try adding fresh herbs like basil or parsley for an herbed aioli, or a pinch of smoked paprika for a smoky flavor.
Nutritional Breakdown (Per Serving)
- Calories: 150 kcal
- Total Fat: 16g
- Saturated Fat: 2g
- Cholesterol: 37mg
- Sodium: 80mg
- Total Carbohydrates: 2g
- Dietary Fiber: 0g
- Sugars: 0g
- Protein: 1g